Mastering Bean to Bar: Craft Perfect Homemade Chocolate
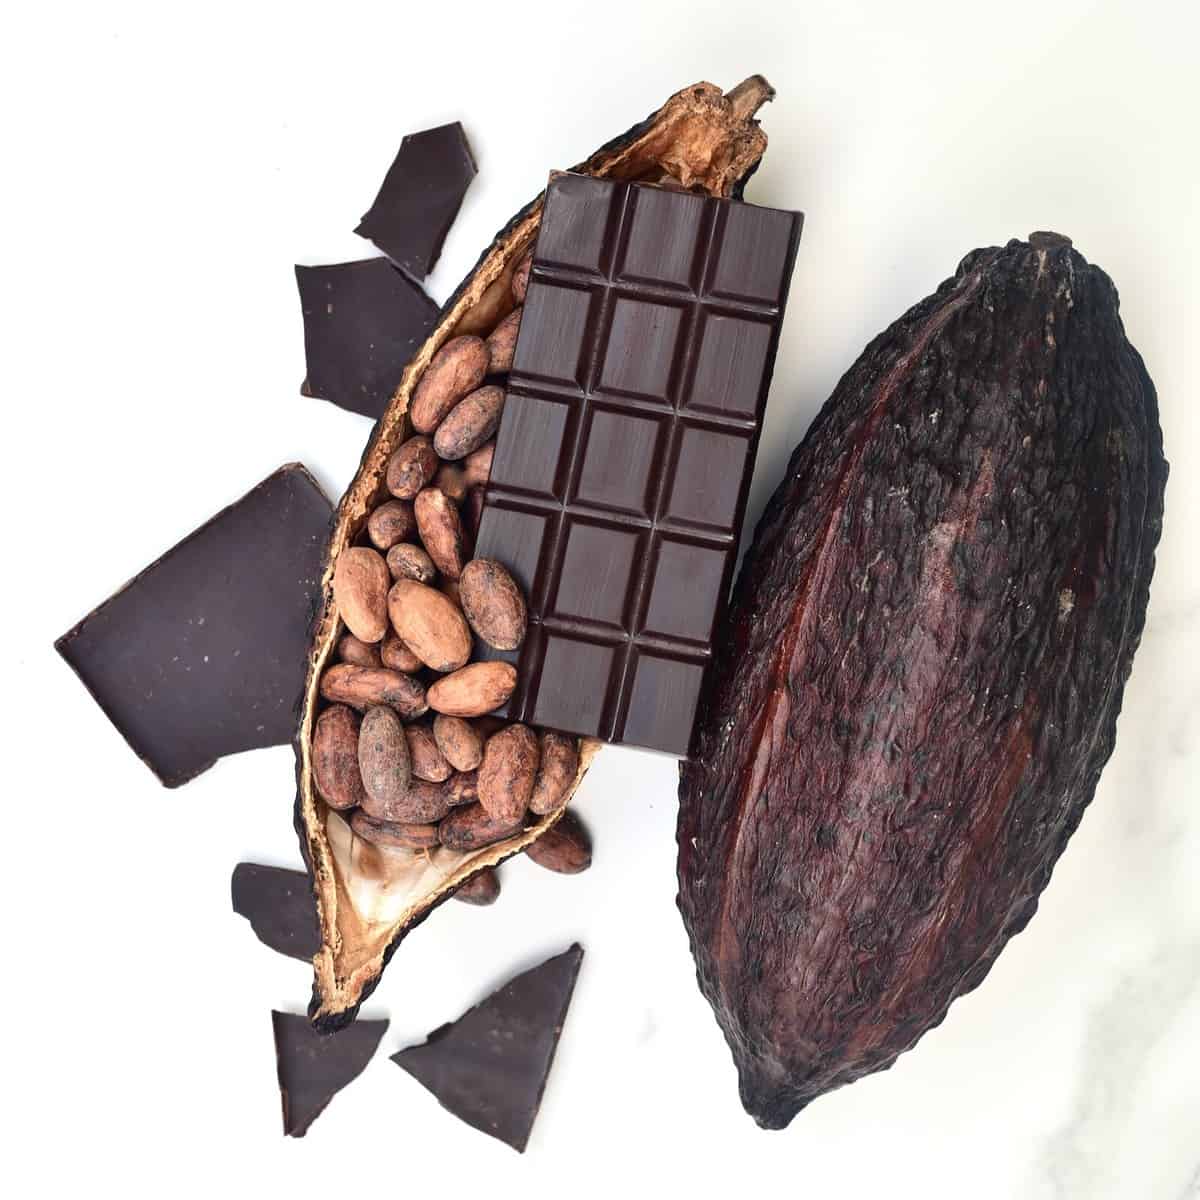
There's a magical transformation that happens when raw cacao beans evolve into a rich, velvety chocolate bar. While many enjoy the convenience of store-bought treats, a growing number of enthusiasts are discovering the profound satisfaction of crafting chocolate right from the bean. If you've ever wondered how to make chocolate bean to bar, you're in for an exciting journey that combines culinary art with scientific precision. This comprehensive guide will walk you through every essential step, empowering you to create exquisite homemade chocolate tailored to your exact preferences.
The allure of bean to bar chocolate making lies in its purity and the unparalleled control it offers over flavor and texture. By understanding and executing each stage, you move beyond simply melting chocolate to becoming a true chocolatier, connecting deeply with the origins of this beloved confection. Prepare to transform humble cacao beans into edible masterpieces.
The Journey Begins: Sourcing Your Cacao Beans
The foundation of any great bean to bar chocolate is, without a doubt, the quality of its cacao beans. Just as fine wine starts with exceptional grapes, your chocolate's character begins with its beans. This initial step is critical for anyone learning how to make chocolate bean to bar effectively.
- Understanding Cacao Varieties: There are three primary types of cacao – Criollo, Forastero, and Trinitario.
- Criollo: Known for its delicate, complex flavors with notes of fruit and nuts. It's often rare and expensive.
- Forastero: The most common and robust variety, forming the backbone of most industrial chocolate. It offers a classic, strong chocolate flavor.
- Trinitario: A hybrid of Criollo and Forastero, combining the robustness of the latter with some of the finer flavor notes of the former.
- Source with Care: Look for specialty suppliers who prioritize ethical sourcing and provide detailed information about the bean's origin, fermentation, and drying processes. Properly fermented and dried beans are crucial for developing desirable flavors. Online retailers specializing in bean to bar supplies are an excellent resource.
- Inspection is Key: Upon receiving your beans, inspect them. They should be whole, without mold or signs of insect damage, and have a rich, earthy aroma.
Essential Steps in Your Bean to Bar Chocolate Making Process
Once you have your high-quality cacao beans, the real magic begins. This section details the core processes involved in transforming them into luscious chocolate. For a deeper dive into each stage, consider exploring Bean to Bar Chocolate Making: Your Ultimate Guide.
Roasting the Cacao Beans
Roasting is where the latent flavors within the cacao bean are truly awakened. It's a delicate balance of temperature and time, essential for developing the characteristic chocolate aroma and making the husks easier to remove.
- Purpose: Develop complex flavors, reduce moisture, and make the husks brittle.
- Method:
- Preheat your oven to a low temperature, typically between 250-325°F (120-160°C).
- Spread a single layer of beans on a baking sheet.
- Roast for 20-40 minutes, depending on the bean type and desired roast level. Listen for a subtle popping sound and smell for a rich, browniesque aroma.
- Cool the beans completely.
- Tip: Experiment with roast times and temperatures to discover different flavor profiles. A lighter roast will yield more fruity and acidic notes, while a darker roast brings out deeper, richer chocolate flavors.
Winnowing: Separating Nibs from Husks
After roasting, the beans need to be broken and the papery husks removed, leaving behind pure cacao nibs. This step is often considered the most tedious but is vital for a smooth, unblemished chocolate.
- Purpose: Remove the bitter, fibrous husks, leaving only the flavorful cacao nibs.
- Method:
- Cracking: Gently crack the roasted beans. A hand-cranked grain mill, a food processor with a few pulses, or even a rolling pin can work.
- Winnowing: This is where you separate the lighter husks from the denser nibs. Home methods include using a hairdryer and bowls, or a small fan. Blow gently across the cracked beans, allowing the husks to float away while the nibs remain. You can also purchase dedicated small-scale winnowers.
- Tip: Aim for as clean a separation as possible. Residual husk will introduce bitterness and a gritty texture to your final chocolate.
Grinding and Refining: Transforming Nibs into Liquid Chocolate
This is where the cacao nibs begin their transformation into the liquid, unctuous chocolate mass we recognize. This stage is crucial for achieving a smooth texture.
- Purpose: Grind the nibs into increasingly smaller particles, creating a smooth chocolate liquor, and then incorporating sugar to form a refined paste.
- Equipment: A melanger (or wet grinder) is the gold standard for home bean to bar chocolate making. It uses granite wheels to grind and refine the nibs over an extended period.
- Method:
- Pre-warm your melanger (if possible) and ensure it's clean and dry.
- Add your cacao nibs gradually to the running melanger. The friction will generate heat, turning the nibs into a thick liquor.
- Once the nibs are fully liquid, slowly add your desired amount of sugar (typically 25-35% of the total weight).
- Allow the melanger to run for 24-72 hours. The longer it grinds, the finer the particle size and smoother the chocolate will be.
- Tip: Keep your chocolate warm during refining (around 120-140°F / 50-60°C). This helps the cocoa butter flow and aids in efficient grinding.
Conching (Optional but Recommended)
While often integrated into the refining process in a melanger, conching is a distinct process that significantly impacts flavor and texture.
- Purpose: Aerate the chocolate, remove unwanted volatile acids, and further develop flavor complexity through continuous mixing and agitation.
- Method: In a melanger, the continuous grinding and exposure to air achieve a form of conching. For industrial processes, dedicated conche machines are used.
- Benefit: Conching contributes to a smoother, less acidic, and more harmoniously flavored chocolate. It's a key factor in elevating homemade chocolate to professional standards.
Tempering: Achieving That Perfect Snap and Sheen
Tempering is the critical step that gives chocolate its beautiful gloss, firm snap, and prevents "bloom" (white streaks caused by unstable cocoa butter crystals). This is a crucial skill for anyone serious about how to make chocolate bean to bar like a pro.
- Purpose: Stabilize the cocoa butter crystals in the chocolate, ensuring a smooth texture, shiny finish, and resistance to melting.
- Method (Seeding Method):
- Melt your chocolate gently over a double boiler or in a microwave, stirring frequently, until it reaches an initial melting temperature (e.g., 115-120°F / 46-49°C for dark chocolate).
- Remove from heat and add a small amount of finely chopped tempered chocolate (seed chocolate) or cocoa butter callets.
- Stir constantly until the chocolate cools to its working temperature (e.g., 88-91°F / 31-33°C for dark chocolate). The seed chocolate helps stable crystals form.
- Test for temper by dipping a knife or piece of parchment paper into the chocolate. It should set quickly and evenly with a slight sheen.
- Tip: Accurate temperature control is paramount. Use a reliable digital thermometer.
Molding and Cooling
The final touches bring your homemade chocolate to its delicious, ready-to-enjoy form.
- Purpose: Shape your tempered chocolate into bars or other confections.
- Method:
- Carefully pour the tempered chocolate into clean, dry polycarbonate molds.
- Tap the molds gently on your countertop to release any air bubbles.
- Scrape off excess chocolate from the top with an offset spatula.
- Allow the chocolate to cool and solidify completely at room temperature or in a cool, dry place (not the refrigerator, as condensation can cause bloom).
- Once fully set, the chocolate bars should easily release from the molds with a satisfying snap.
Beyond the Basics: Elevating Your Homemade Chocolate
Once you've mastered the fundamental process of From Cacao Bean to Bar: The Art of Crafting Chocolate, you can begin to experiment and personalize your creations.
- Flavor Inclusions: Add roasted nuts, dried fruits, spices (like cinnamon or chili), sea salt, or even coffee beans during the final stages of refining or after tempering.
- Sugar Content: Adjust the percentage of sugar to achieve your preferred level of sweetness. Remember, less sugar allows the inherent flavors of the cacao to shine through.
- Milk Chocolate: For milk chocolate, incorporate whole milk powder during the refining stage along with the sugar. This adds creaminess and a distinct flavor profile.
- Storage: Store your finished chocolate bars in an airtight container in a cool, dark place, away from direct sunlight and strong odors. Properly tempered chocolate can last for several months.
Why Master Bean to Bar Chocolate Making?
The commitment required to learn how to make chocolate bean to bar is rewarded tenfold. This artisanal pursuit offers benefits far beyond a delicious treat:
- Unrivaled Control: You dictate every ingredient, ensuring purity and tailoring flavors precisely to your palate. No strange emulsifiers or excessive sugars.
- Unique Flavor Profiles: Explore the vast world of cacao. Each origin offers distinct notes, and your roast and refining techniques bring these nuances to life in ways commercial chocolate rarely does.
- The Joy of Craftsmanship: There's immense satisfaction in creating something truly special from raw ingredients. It’s a meditative and rewarding process.
- Deeper Appreciation: Understanding the effort involved fosters a greater appreciation for chocolate and the dedicated farmers who cultivate cacao.
Embarking on the bean to bar journey is a commitment, but one that promises incredible rewards. Each batch is an opportunity to learn, refine, and create something truly unique. With patience, a bit of equipment, and a passion for chocolate, you'll be producing exquisite homemade bars that rival the finest artisan chocolatiers.
