The allure of chocolate is undeniable, a complex symphony of flavors that captivates taste buds worldwide. But have you ever considered the intricate journey from a humble cacao bean to the sophisticated bar you savor? The world of "bean-to-bar" chocolate making is an artisan's dream, a craft that empowers you to control every nuance of flavor, texture, and aroma. It's more than just a culinary process; it's an immersive experience that deepens your appreciation for one of nature's most extraordinary gifts. If you've ever wondered how to make chocolate bean to bar, preparing to embark on this rewarding adventure, you’re in the right place. This comprehensive guide will demystify the art, walking you through each crucial step, from sourcing the finest cacao to tempering your finished creation.
Crafting chocolate from scratch offers unparalleled satisfaction. It allows you to transform raw ingredients into something truly magical, tailoring the profile to your exact preferences. Gone are the days of mystery ingredients; with bean-to-bar, you are the master craftsman, influencing every stage of flavor development. Let's delve into the fascinating process of how to make chocolate bean to bar and unlock the secrets behind creating exquisite homemade chocolate.
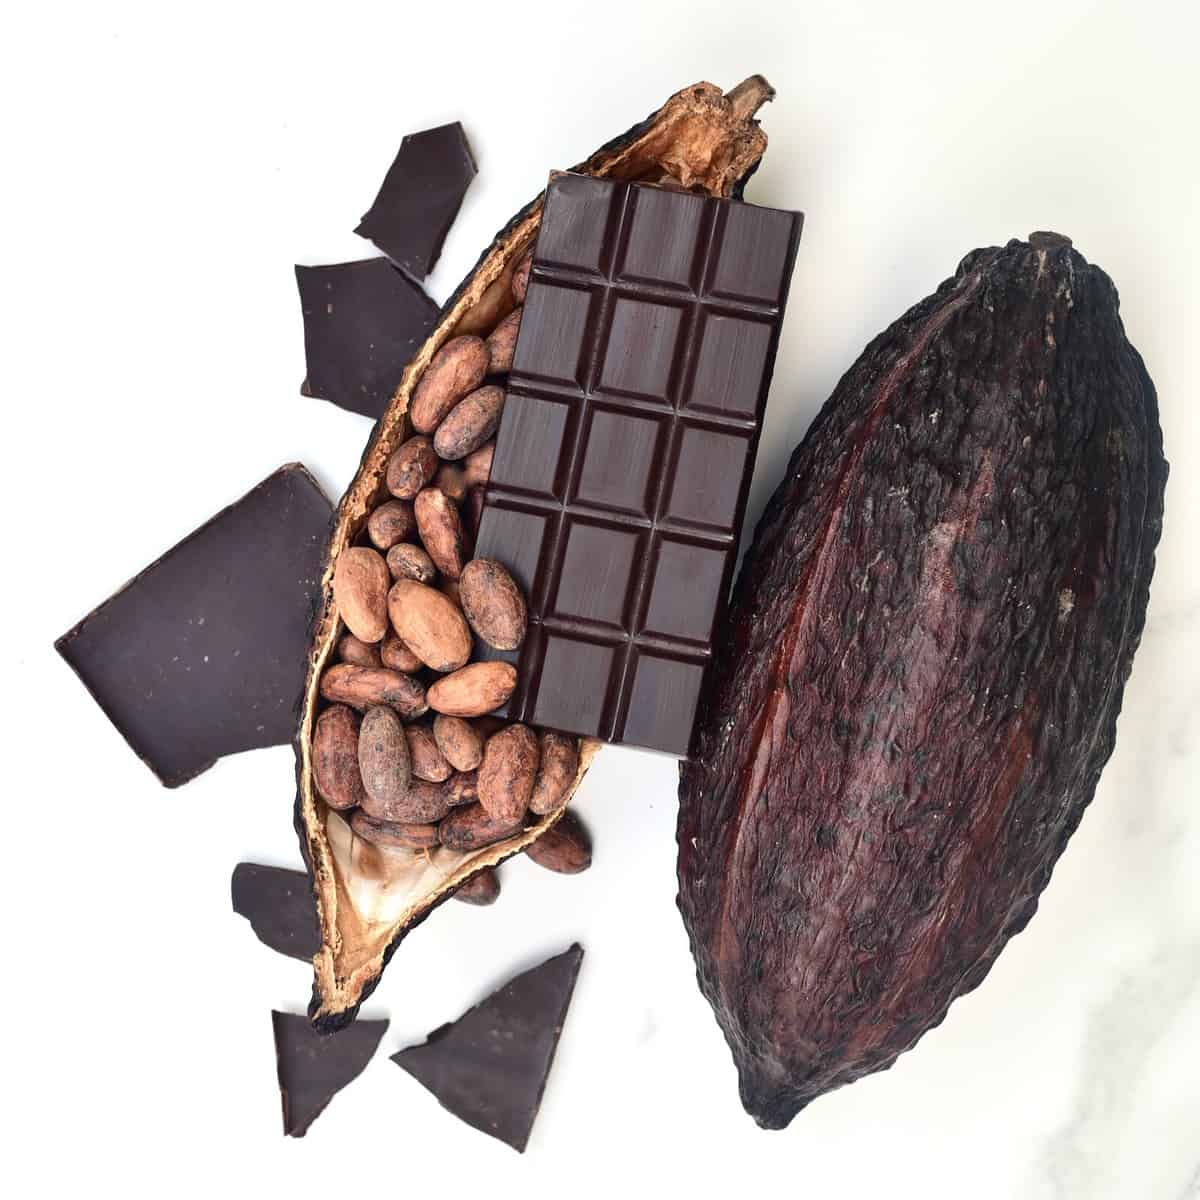
The Foundation: Sourcing and Preparing Cacao Beans
The journey of crafting exceptional chocolate begins long before any machinery whirs into action—it starts with the cacao bean itself. Just like fine wine grapes, cacao beans vary significantly based on origin, varietal, and post-harvest processing (fermentation and drying). Sourcing high-quality, ethically produced beans is paramount, as they lay the entire flavor foundation for your finished bar. Look for specialty cacao suppliers who provide detailed information about their beans, including origin, varietal, and flavor notes.
Roasting: Unlocking Flavor Potential
Roasting is perhaps the most critical step in developing the characteristic chocolate flavor. Raw cacao beans, while aromatic, don't taste much like chocolate. Roasting transforms their chemical composition, reducing bitterness and acidity while developing hundreds of volatile flavor compounds. This process is a delicate balance: under-roasted beans will be grassy and acidic, while over-roasted beans will taste burnt and bitter. Parameters like temperature, time, and airflow must be carefully controlled, often varying based on the specific bean origin and desired flavor profile.
- Tip: Start with lower temperatures (around 250-300°F or 120-150°C) and shorter times (20-40 minutes) for your first roasts, observing changes in aroma and color. Listen for a subtle "pop" similar to popcorn as the beans expand.
Cracking and Winnowing: Separating the Goodness
Once roasted and cooled, the beans are brittle and ready for cracking and winnowing. This stage separates the cacao nibs (the inner, chocolatey part) from the papery husk. The husk, while edible, can impart an unpleasant, astringent flavor and detract from the smooth texture of fine chocolate. Winnowing involves using airflow to separate the lighter husks from the denser nibs.
Specialized winnowing machines exist, but for smaller batches, you can achieve this manually or with household tools. A sturdy hand-cranked grain mill or even crushing with a rolling pin can crack the beans. Separating the husk can be done with a fan, a hair dryer on a cool setting, or by hand-picking. Precision here is key, as even small amounts of husk can negatively impact your final product.
From Nibs to Liquid Gold: Grinding and Refining
With clean cacao nibs in hand, the real transformation into chocolate begins. This stage involves reducing the nibs into a smooth, liquid mass, known as chocolate liquor (despite the name, it contains no alcohol). Understanding how to make chocolate bean to bar means mastering this mechanical transformation.
Pre-Grinding: Initial Size Reduction
Cacao nibs are hard and dense, so an initial pre-grinding step helps to reduce their size before they enter the main refining machine. This can be done using a spice grinder, a food processor, or even a robust blender. The goal is to create a coarse paste, making it easier for the melanger to handle and shortening the overall grinding time.
Melanging and Grinding: Texture and Flavor Development
The heart of bean-to-bar chocolate making lies in the melanger (or ball mill for commercial operations). A melanger is a stone grinder with granite rollers that slowly grind the cacao nibs. This process accomplishes several things simultaneously:
- Particle Size Reduction: It grinds the cacao particles (and later, sugar) down to an incredibly fine size, typically 15-30 microns, which is imperceptible to the tongue. This creates the smooth, luxurious mouthfeel characteristic of good chocolate.
- Friction Heat: The friction from the grinding generates heat, keeping the chocolate in a liquid state.
- Aeration: The constant movement exposes the chocolate to air, helping to release undesirable volatile acids and further develop desirable flavors.
Grinding typically takes anywhere from 24 to 72 hours, depending on the machine, the desired fineness, and the specific beans. Throughout this process, the cocoa butter within the nibs is released, turning the dry paste into a thick, flowing liquid. After a period of grinding, usually 12-24 hours, sugar is introduced. The amount of sugar will depend on the desired percentage of your finished chocolate, typically ranging from 20-40% of the total weight. Some makers also add a small amount of lecithin (an emulsifier) to improve flow and shelf life, and often cocoa butter to achieve desired viscosity, especially for higher percentage dark chocolates.
For more detailed insights into the specific equipment you'll need for this stage, please refer to our article Bean to Bar Chocolate Making: Your Ultimate Guide.
The Art of Flavor Development: Conching and Aging
While grinding significantly refines the chocolate, conching is where much of the final flavor profile and ultra-smooth texture truly emerge. This is a crucial distinction in understanding how to make chocolate bean to bar that stands out.
Conching: The Polish on the Palate
Conching is a vigorous, extended mixing process that can occur within the melanger itself (wet conching) or in a separate conche machine. Its primary functions are:
- Volatile Acid Removal: The constant agitation and exposure to air allow undesirable volatile acids (often associated with sour or harsh notes) to evaporate. This mellows the flavor.
- Moisture Reduction: Excess moisture can be driven off, which affects texture and shelf life.
- Homogenization: It thoroughly blends all ingredients, ensuring an even distribution of flavor and a consistent texture.
- Flavor Development: Through oxidation and other chemical reactions, conching develops and refines desirable aromatic compounds, leading to a richer, more nuanced flavor.
Conching times vary wildly, from a few hours to several days, depending on the bean, desired flavor profile, and the intensity of the conching action. Temperature also plays a role; higher temperatures can speed up the process but must be carefully managed to avoid scorching or off-flavors.
Aging: The Patience of Perfection
While not strictly necessary for all chocolates, some artisans choose to age their chocolate liquor (after conching but before tempering) for several weeks or even months. This resting period allows the flavors to meld, harmonize, and deepen, often resulting in a more complex and rounded profile. Think of it like aging fine wine or cheese; time can work wonders in developing subtlety and sophistication.
The Final Touches: Tempering, Molding, and Packaging
You're almost there! After all that meticulous effort, these final steps are crucial for achieving the perfect snap, shine, and melt of a professional-quality chocolate bar. This stage is where you turn your liquid chocolate into a solid, beautiful form, completing the answer to how to make chocolate bean to bar.
Tempering: The Secret to Professional Chocolate
Tempering is the process of precisely controlling the temperature of the chocolate to achieve stable cocoa butter crystal formation. Cocoa butter can crystallize in several forms, but only one (Form V beta crystals) gives chocolate its desirable properties: a firm texture, a clean snap when broken, a glossy surface, resistance to bloom (white, chalky streaks), and a smooth melt in the mouth. Improperly tempered chocolate will be dull, soft, crumbly, and prone to bloom.
There are several methods for tempering, including:
- Tabling Method: Pouring chocolate onto a cool surface (like marble) and working it with a scraper to cool and encourage crystal formation, then reheating slightly.
- Seeding Method: Melting chocolate, cooling it, and then adding a small amount of already tempered, solid chocolate (seed chocolate) to introduce stable crystals.
- Sous Vide or Machine Tempering: Using precise temperature control to guide the chocolate through the correct heating and cooling cycles.
Each type of chocolate (dark, milk, white) has specific tempering temperature ranges. Mastering this step is a hallmark of a skilled chocolatier.
Molding and Cooling: Shaping Your Creation
Once perfectly tempered, the chocolate is ready to be poured into molds. High-quality polycarbonate molds are recommended for their durability and ability to produce a high-gloss finish. Pour the chocolate into clean, dry molds, tap them gently to release air bubbles, and scrape off any excess from the top. Then, allow the chocolate to cool and set completely, ideally in a cool, stable environment (around 65°F or 18°C) or briefly in a refrigerator, but avoid drastic temperature changes which can cause bloom.
Packaging: The Presentation
Once cooled and unmolded, your handcrafted chocolate bars are complete! Proper packaging protects the chocolate from moisture, odors, and light, which can degrade its flavor and appearance. Food-grade foil, cellophane, and well-designed wrappers not only preserve your chocolate but also present it beautifully, a testament to the meticulous process of how to make chocolate bean to bar.
The journey from a raw cacao bean to a finished chocolate bar is a captivating blend of science, art, and patience. Understanding how to make chocolate bean to bar transforms you from a mere consumer into a creator, allowing you to appreciate the nuanced flavors and textures that only handcrafted chocolate can offer. Each step—from roasting to tempering—plays a vital role in shaping the final product, offering endless opportunities for experimentation and refinement. While demanding, the satisfaction of presenting a bar of chocolate you've crafted entirely from scratch is immensely rewarding, a true testament to your dedication and passion. Ready to take your skills to the next level? Dive into Mastering Bean to Bar: Craft Perfect Homemade Chocolate for advanced techniques and troubleshooting. Embrace the challenge, enjoy the process, and delight in the rich, complex flavors of your very own bean-to-bar creation.
